A few nights ago, Austin and I invited my sweet in-laws over for dinner. I wanted to make something easy and comforting, but also special.
Hey Mamas, you sick of being stuck inside with energetic, bored kiddos during all this weather? This is the dinner for you! Growing up in the kitchen with my Mama, I will always believe in the importance of getting your children in the kitchen every once in a while. This is a great opportunity for them to get involved in cooking with you! They get to be a little messy and have fun, all while helping make your family's dinner!
This is my Chicken Noodle Soup with Homemade Noodles!
Several years ago, one of my amazing second Mamas, Sarah Gessler, taught me how to make pasta- something that sounds rather intimidating upfront. Here's the thing, y'all. Its really pretty easy. Sarah of course can make outrageously amazing things, but I stick to the simple recipes. You don't need a pasta machine or any special equipment for this recipe.
Start by making your pasta dough. In a large mixing bowl, sift your flour. This is IMPORTANT! I always want to skip the sifting, but you really actually need to do it in this recipe. Do you want to bite into a noodle and have dry flour burst into your mouth? Me either. Sift. The. Flour.
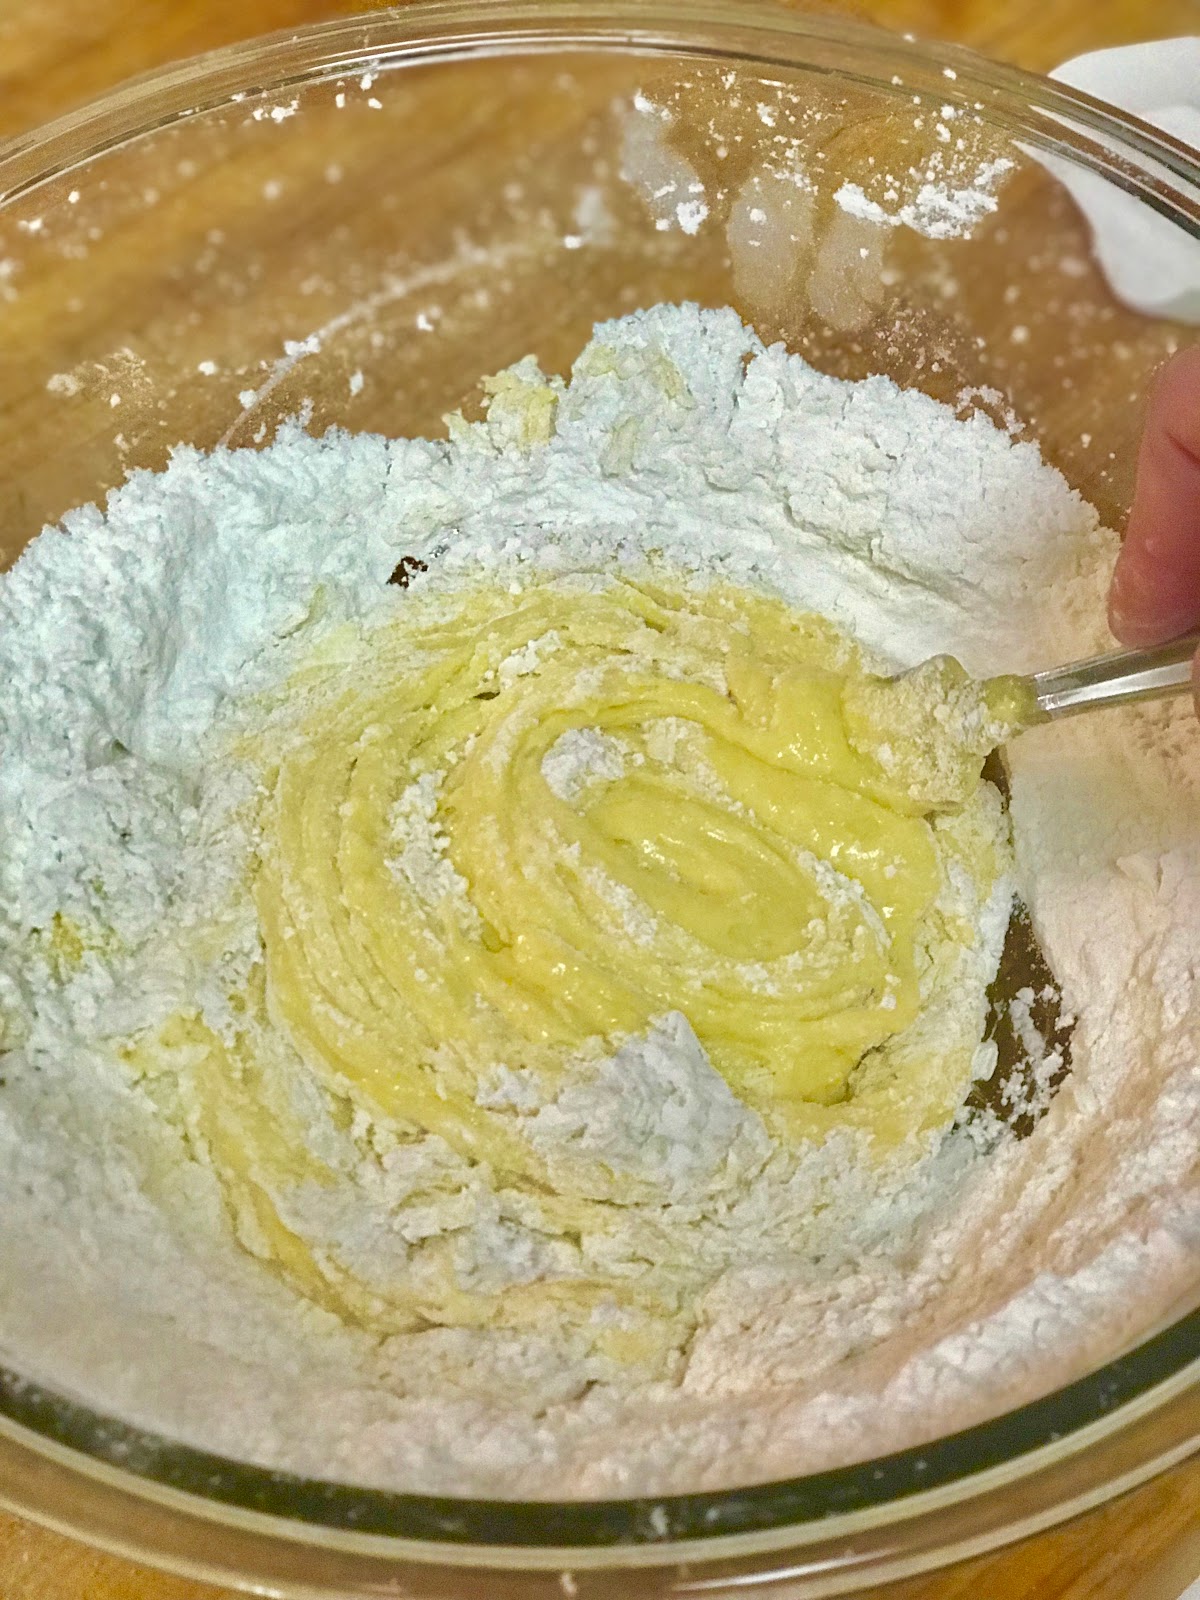
Now, with your hands or a spatula, make a well in the middle of the flour. Into the well, crack your eggs and add oil and salt.
Using a fork, beat the eggs, oil and salt within the well. Slowly and gradually, begin to bring in flour and combine with the wet ingredients until dough is thick enough that it can no longer be mixed with a fork. *Remember- during this mixing process, the goal is to keep the dough in one large piece, not a lot of little pieces mixed in the flour. This is why it is important to add a little flour at a time!
Once the dough mixture gets thick, go ahead and coat your hands with flour and begin to mix the remaining flour into the dough with your hands. Remember, the goal is one ball of dough, not a million little pieces, so I use the method of folding and pressing the remaining flour into the dough.
Once you have incorporated all of your flour, go ahead and flour your work surface and knead for about 5 minutes until the dough is very firm. You will know it is ready when you press your finger into it and it immediately pops back out.
Once you are done kneading, place your mixing bowl over your dough and let sit for about 15-20 minutes.
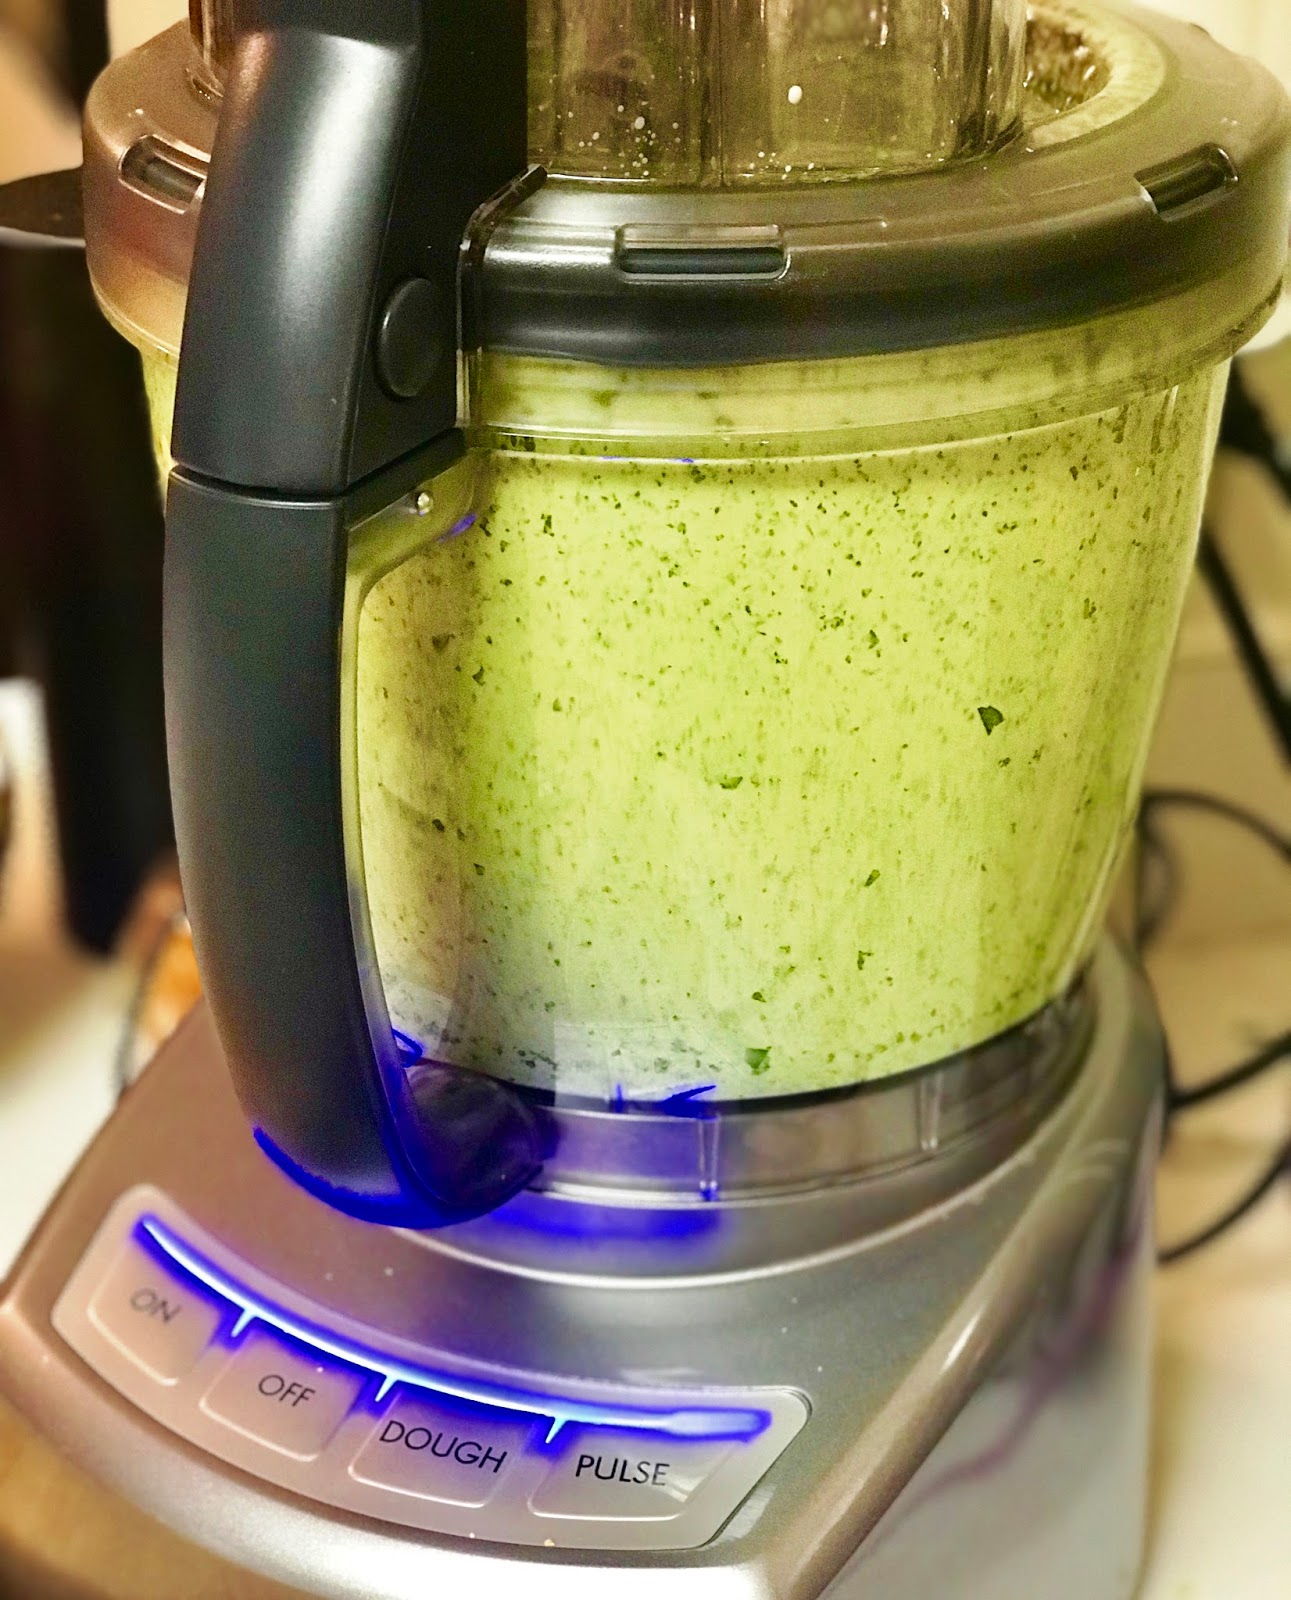
While the dough is resting, get started chopping your veggies. Once veggies are chopped, add to 2 tbsp. butter in a hot pan and sauté until veggies are translucent.
Once the veggies are tender, add your raw chicken. Sprinkle with salt and pepper and cover with 10 cups of chicken broth. As you know, I love "Better than Bouillon," but you can use any stock you like. Bring to a boil and then cover. Reduce to a simmer and let cook for 20-25 minutes until chicken is cooked through.
Once your chicken has cooked through, remove with tongs to a cutting board. With two forks, pull the chicken into small strips and return to broth. Return to a simmer.
Now it's time to roll out your noodles! (You can actually start this while your chicken is cooking).
First, on your flour board, cut your ball of dough in half. Put half in a plastic bag and store in the fridge for later. This will last for up to 3 days in the fridge.
Next, put other half onto your floured board and cut in half again. Press down your first quarter to make a flat surface to begin rolling out.
Coat your rolling pin in flour and begin to roll thin. When you feel like you have stretched your pasta to its limits and it begins to fold and ripple, flip it over and roll again. You want to get your pasta as thin as possible. Once you have rolled it thin, slice in 1/4" strips to mock linguine.
Once you have cut into strips, slice horizontally into four segments to make shorter noodles. I only do this because I don't like a long noodle in soup. You can slice them however you like!
During this process, continue to pile your noodles up onto a plate, making sure that they are coated with plenty of flour so that they don't begin to stick together.
It is finally time to add your noodles!
Bring the broth back up to boil and slowly add the noodles a few at a time, scattering them over the broth and stirring immediately after. This is to prevent clumping.
Once you have added all the noodles, let the soup simmer until noodles are soft.
Enjoy!